The Gantt is mostly designed to be used by venues that take bookings to tables, though it can be used by all venues.
As an important element for front of house, we recommend checking out this page to understand the different settings you can apply to make it work best for your venue and team.
Changing the zoom
By default the Gantt view will use your real opening and closing hours to try and show the most information as possible while showing you a full view of the day.
You can change the zoom here, which will change the size of the time steps overall.
Customising Gantt Information
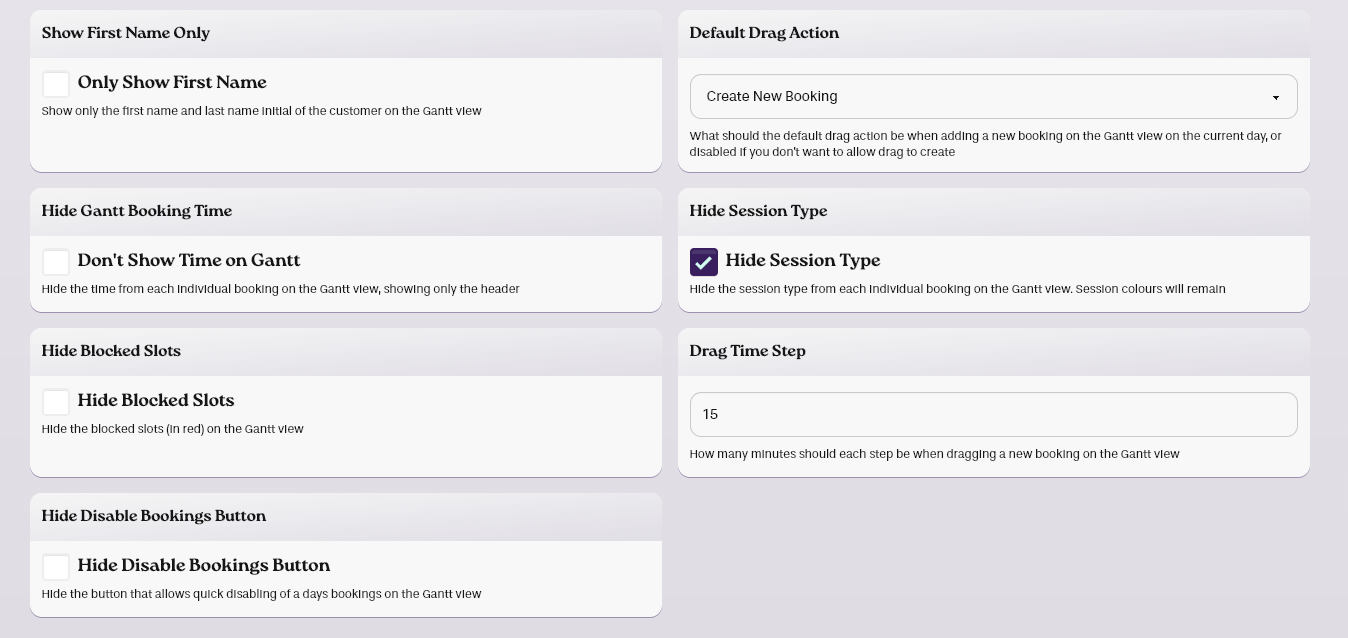
Several options are available to customise the Gantt in the admin panel options section, including removing session names from each booking, using first names, and hiding certain types of bookings.
We recommend checking these settings to reduce any unrequired information to enhance speed and user experience.

Customising Gantt Icons
By default we show icons for things like comments, payments and allergies in the Gantt view for an easy overview.
If you are using a custom field, you can also add your own custom icon to the Gantt, so you'll know when a customer has entered something in this field. The icon used and it's rules are set up when you create a custom field.
Change what Dragging does
You can make a new booking by dragging onto the Gantt directly. By default this makes a new booking, but this can be changed to either add a walk-in, or disabled completely.
Separating Tables
You can easily drag a booking onto multiple tables on a computer by holding shift and dragging the booking with the mouse.
Changing the order of areas
By default the Gantt will display areas based on the order you add them into the system. However, you can override this order by setting a different "Visual priority" in the layout section.
Unassigned Bookings
An unassigned booking is a booking without a table. If you don't use yield, all bookings will appear as unassigned on the Gantt.
If you are using a laptop or desktop environment to use BookingNinja.
You can hold down CTRL while dragging a booking it will add an additional table which the booking will use.
If when holding down CTRL you drag a booking into itself across multiple tables, it will combine down into the table being dragged into.