The booking editor is used on both the list and the gantt view to add new bookings taken from places outside of your form - like email or phone. It's also where you edit existing bookings.
By default we'll show you the normal time slots and rules for your session, and automatically assign the best table.
You are ALWAYS able to override your normal rules when using the editor says. So, you can use this to book 30 people onto a 2 person table if you want, or making a 160 hour long booking if you want.
Using Table Assignment (Yield) with the Booking Editor
Disabling Table Assignment and Yield
Add Event / Ticketed Event Bookings
Clicking "Add New booking" in the list and gantt views brings up the Booking Editor.
Firstly select if the booking is for a regular session or an event. You'll only see this option if you have at least one event running:

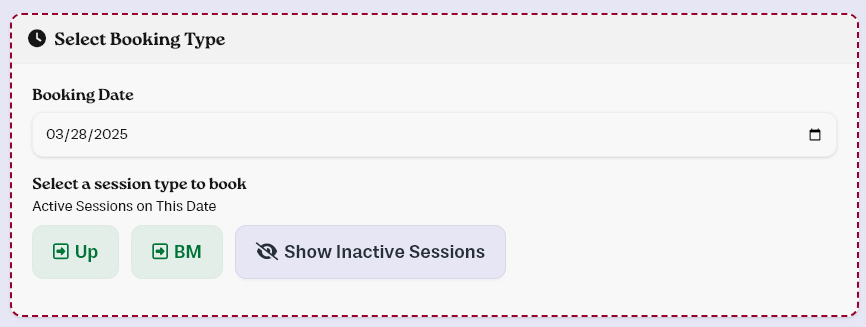
For regular bookings, check or change the date if required, then confirm which session the booking is for. All active sessions are show as green boxes:
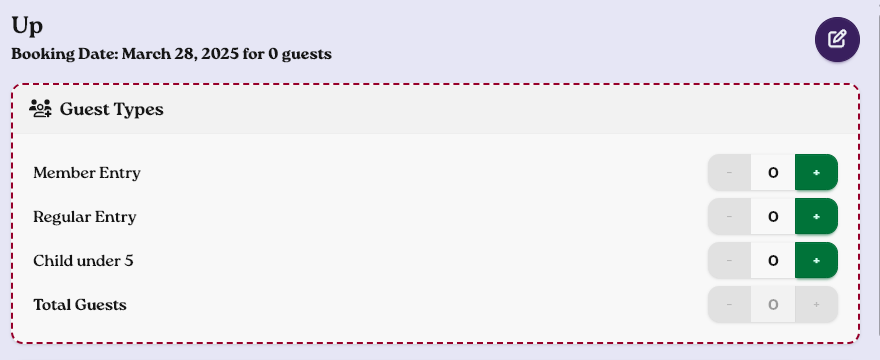
Then, select your guest amounts:
The time and session selection will let you pick from your regular slots, based on your session settings, or you can manually pick a time. Yellow shows slots that usually not be bookable on the public form - but you can still pick them!
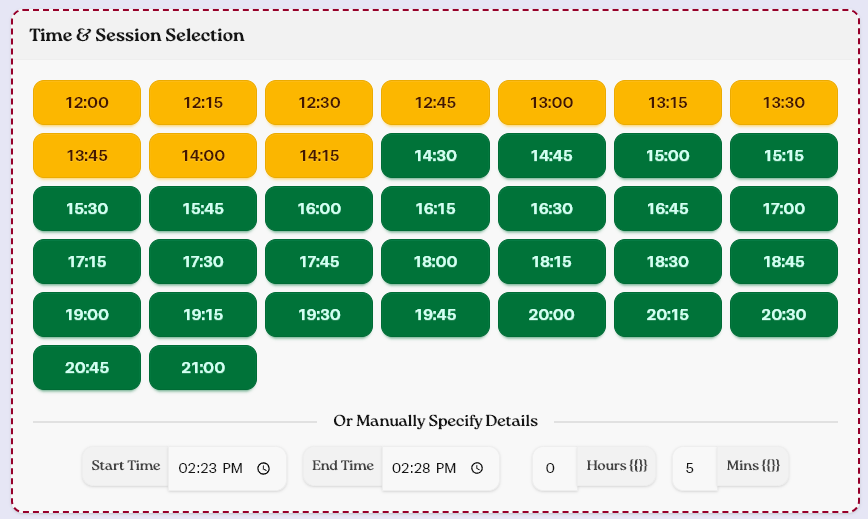
If you pick a yellow time slot, we'll show you warnings about why it's not usually bookable. These warnings are for information only and will not stop you making a booking.

Finally, add the customer name, email and phone number, or search for the customer in your CRM to autofill.

You should then be able to click "Create Booking" or "Create & Notify", which will save the booking. If these are not clickable, hover over the red icon next to the buttons to see why:

By default, if you use automatic assignment, any new booking will use try to assign a table:

Keep in mind that if you edit a booking with automatic assignment, for example, changing customers, the system will run again and try to find a new table.
If you have table chains enabled, the system will try to use a chain if it can't find a suitable table.
If the system cannot find a table or a table chain, you won't be able to save the booking and will get this error message. However, you can override this by turning off automatic assignment.
You can disable the automatic system and set your own tables for any booking.
To do so, use this button:

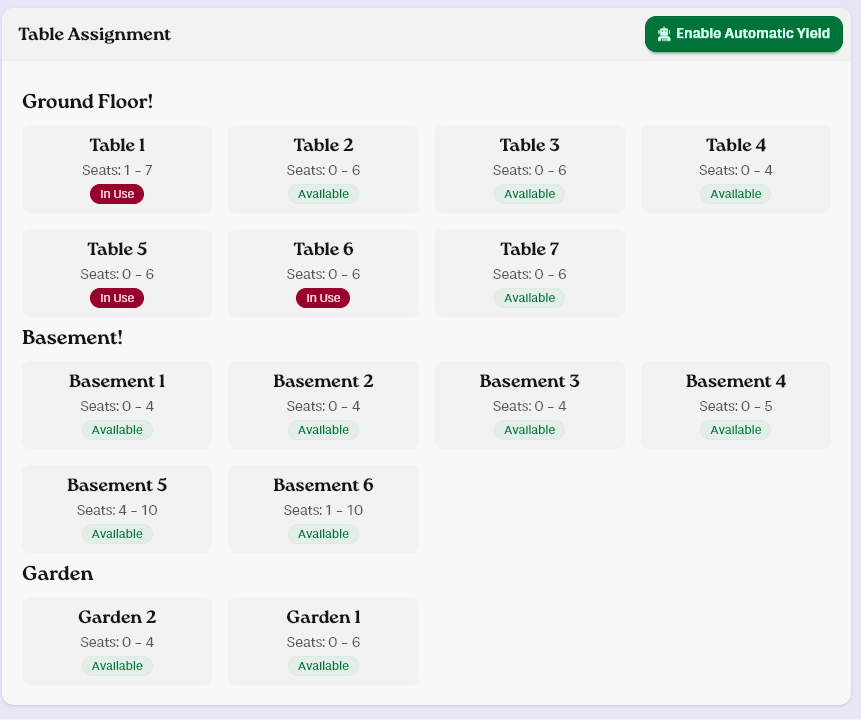
You'll see all your tables, and clicking one will select it for use. You can select multiple tables for your booking, including ones that are marked as in use.
Note that when using this system, "Available" just means that nobody is sitting at the table, it doesn't mean it is suitable for the amount of guests - it's up to you to pick the right tables!
Once you've disabled yield on a booking, the automatic system will not kick in again, even if you edit a booking. To re-enable automatic assignment, click the "Enable Automatic Yield Button."
Adding event bookings works exactly the same as adding a regular booking, just click "Event" and pick the relevant event:

You will only see the "Event" button if you have at least one upcoming event.
Events with multiple dates will show with the number of different events in brackets.
Note that you won't see a time slot if your event only has one. If the editor is asking you for a time when trying to add an event, make sure your event has at least one time slot in your session settings.
You can turn any regular booking into repeat booking, but you need to have filled out all the regular information first.
Any already existing booking can be editing by clicking on the name of the booking. In the list view, that's here:
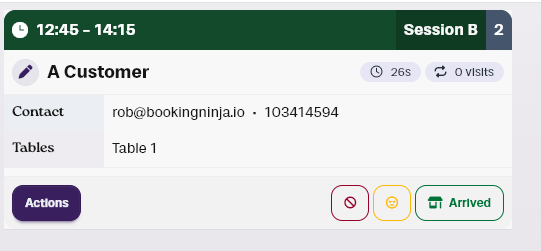
And in the gantt view, click on the booking first, and then click the name in the details that pop up here:

Note that you may want to change a customer into a different event or session. To do this, use the purple button at the top and pick the correct session before making any changes:

The system will automatically update the booking with the correct time slots and guest types if you move sessions, but if you use guest types these may have changed and you will still need to check these!
You can use "Renotify" to email the customer with the change of details, or you can simply save the changes, which will not notify the customer.

If you use same day booking and table yield, Booking Ninja needs to know who is currently in your venue so we can take correct bookings - even if they've just walked in from the street.
You can add a Walk In using the "Add Walk In" button on the List and Gantt View.
Walk ins work similar to adding a new booking - with one big exception: They only require a session and guest amount. The name is auto filled for you, and no other usually required information is needed.
You can check Stripe payment details, add manual payments, request payments and send refunds all from within the booking editor - follow our manual payment guide for more information or learn how to add payments to your form.
On the Gantt view, if you drag to create a new booking, then the system will pick the most likely session depending on the date and time, which saves you from having to pick a session yourself.
You can change this setting in your "Panel Options", which will let pick between "Add New Booking" or "Add Walk In" as the default thing to load, or you can have it ask each time which one you need.